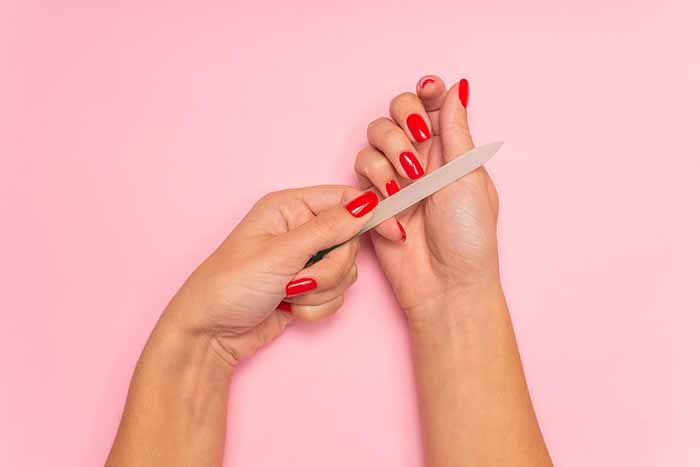

Gel manicures are loved for their glossy finish and long wear, but removal is where many people cause damage. Peeling, picking, or over-filing can strip layers off the natural nail and leave it thin and sensitive.The safest methods are patient: either filing the gel away by hand or using an electric nail file (e-file) with control. Both work. The right choice depends on the product, your skill level, and the tools you have.
This guide covers how to remove gel nails with a hand file, what tools you need for an e-file, and how to use an e-file safely.
Method 1: Removing Gel Nails with a Nail File
Hand filing is the most accessible method. It is slower than an e-file, but it is also more forgiving for beginners. It works well for thin gel polish, soft gel, and small areas of product. For very thick gel or hard gel, hand filing alone can take a long time, and an e-file may be more practical.
What You Need
- A fine-grit nail file, 180 to 240 grit. A glass file or a quality emery board works.
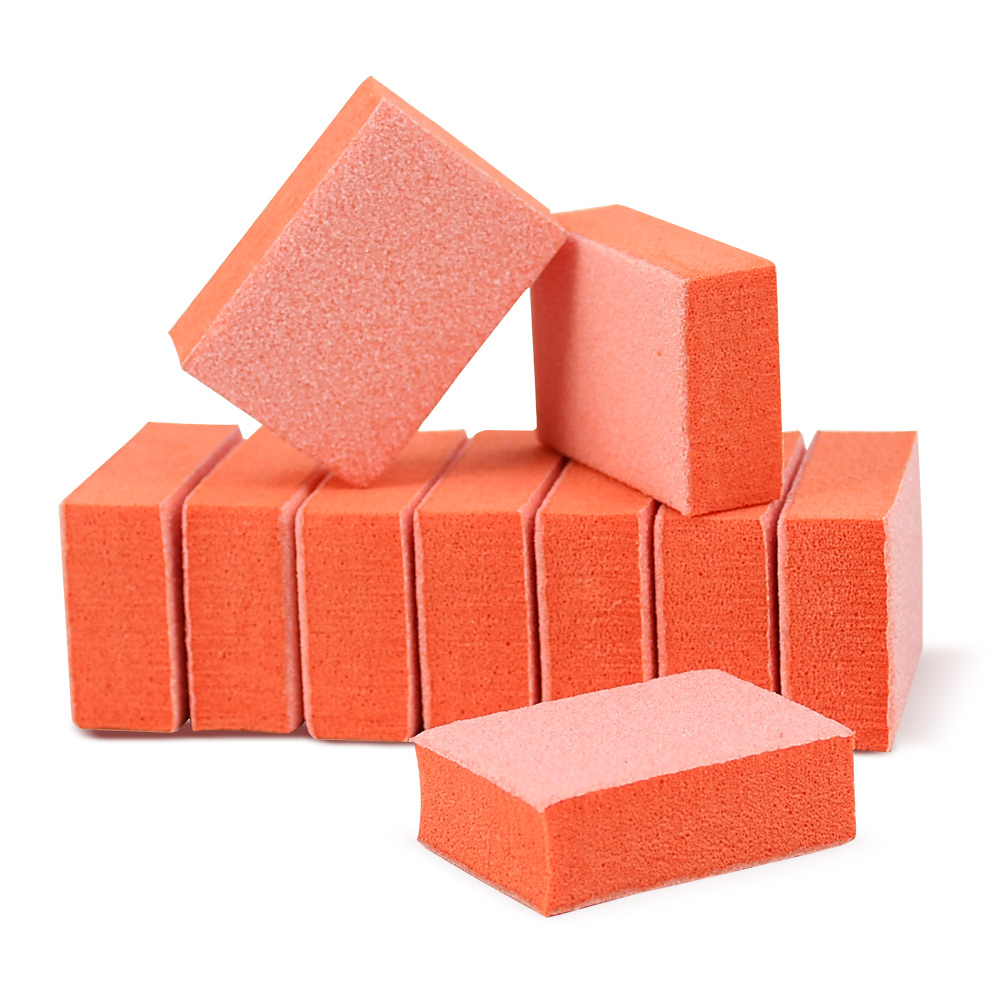
- A buffer block for smoothing.
- A dust brush.
- Cuticle oil and hand cream.
- Optional: 100% acetone, cotton balls, and foil if you want to soak off the last thin layer.
Step-by-Step
Step 1: Prep. Wash your hands and dry them thoroughly. Remove any old polish on top of the gel if there is any. Work over a towel or paper towel to catch dust.
Step 2: File the top coat. Gently file the shiny surface of each nail. You are not trying to remove all the color yet. You only need to break the seal of the top coat. This makes the gel easier to remove.
Step 3: File the gel in layers. Use light pressure and file in one direction. Do not saw back and forth. Work from the cuticle toward the free edge, or from the free edge toward the center. Check your progress often. As you file, you will see the color thin out.
Step 4: Stop at a thin layer. Do not file down to the bare natural nail. Leave a very thin layer of gel or base coat on the nail. This protects the nail plate. If you see the natural nail clearly, you have gone too far.
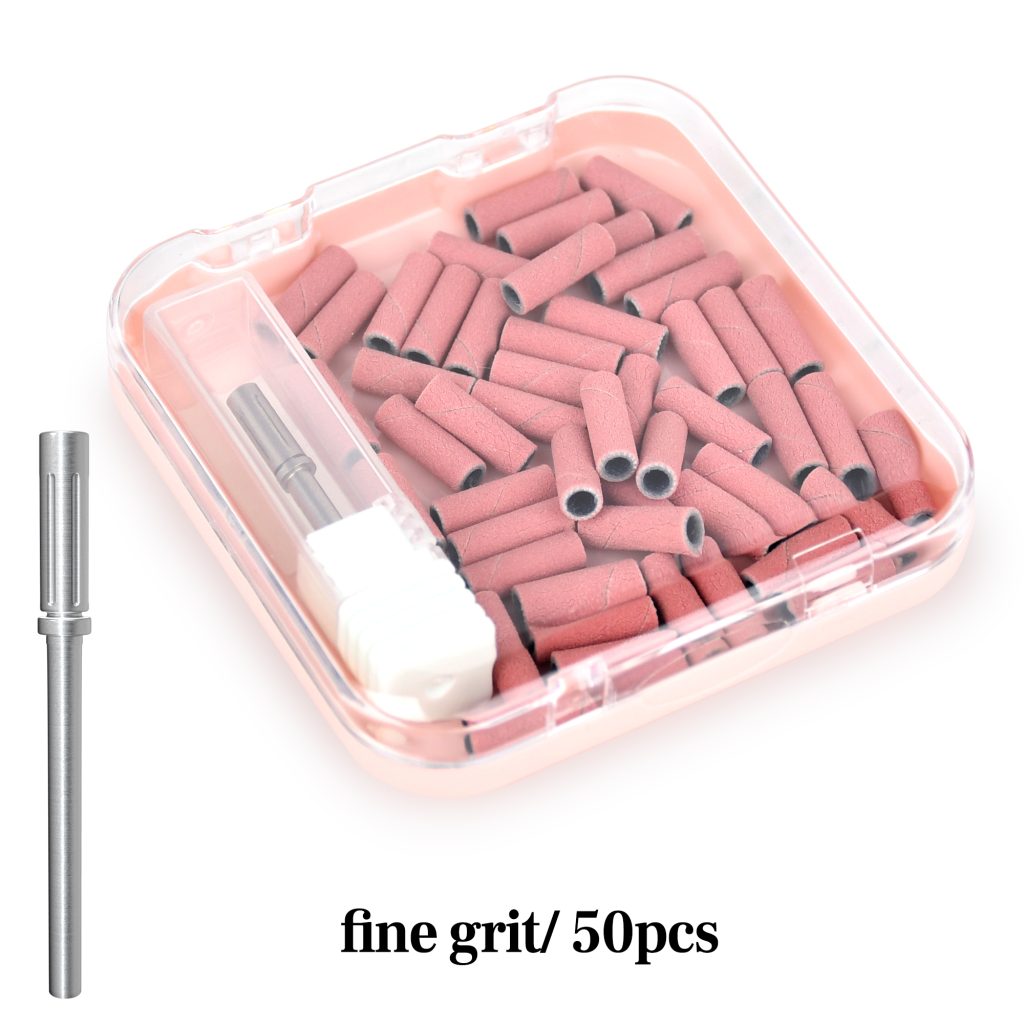
Step 5: Remove the remaining thin layer. You have two options. You can continue to file very gently with a fine-grit file until the layer is gone, or you can soak it off with acetone. To soak: apply a small amount of acetone to a cotton ball, place it on the nail, and wrap with foil for 10–15 minutes. Then gently push the softened gel with a wooden stick. Never scrape or force it.
Step 6: Smooth and hydrate. Lightly buff the nail surface to smooth any residue. Remove dust. Wash your hands. Apply cuticle oil generously and follow with hand cream.
Hand filing is safe when you use light pressure and a fine grit. The biggest mistake is rushing and filing into the natural nail. Patience matters more than speed.
Method 2: Using an E-File to Remove Gel Nails
An e-file removes gel quickly and precisely. It is the preferred method in salons, but it requires practice. If you are new to e-filing, start on a low speed and practise on a fake nail first.
Tools You Need
- An electric nail file with adjustable speed. A range of 0–20,000 RPM or higher is common.
- A fine ceramic bit or a fine diamond bit for gel polish. For soft gel, a ceramic bit is gentle and generates less heat.
- Fine sanding bands on a mandrel, optional, for surface work.
- A dust brush.
- A dust mask and safety glasses. Gel dust is fine and can irritate the lungs and eyes.
- Cuticle oil and hand cream.
- A buffer block for finishing.
Avoid coarse carbide bits for gel polish on natural nails. They remove too much material too quickly and can damage the nail plate.
Step-by-Step
Step 1: Prep. Wash and dry your hands. Put on your dust mask and safety glasses. Work in a well-ventilated area.
Step 2: Choose the right bit. Use a fine ceramic or diamond bit. For gel polish, a rounded top or a small barrel shape is safe. Avoid sharp, aggressive bits.
Step 3: Set a low speed. Start around 10,000 to 15,000 RPM for bulk removal. Lower to 5,000 to 8,000 RPM as you get closer to the natural nail. Low speed gives you more control and reduces heat.
Step 4: Hold the e-file correctly. Grip it like a pencil. Rest your pinky on the table or on your other hand for stability. Keep the bit flat against the nail surface. Do not use the tip to dig into the nail.
Step 5: File the top coat. Gently run the bit over the shiny surface to break the seal. Keep the bit moving at all times. Never hold it in one spot for more than a second.
Step 6: Remove the bulk. Work in smooth, overlapping strokes. Start at the center of the nail and move toward the free edge, then work the sides. Leave the cuticle area for last. Use light pressure. Let the bit do the work.
Step 7: Watch the dust color. Colored dust means you are still removing gel. When the dust turns white or clear, you are near the base layer. Slow down and use a finer bit or lower speed.
Step 8: Stop at a thin layer. Do not file down to the bare natural nail. Leave a thin layer of base coat or gel. You can soak off the remaining layer with acetone or gently file it away with a fine hand file.
Step 9: Smooth and hydrate. Use a buffer block to smooth the surface. Remove dust. Wash your hands. Apply cuticle oil and hand cream.
Safety Rules for E-File Removal
Keep the bit moving. Never stop in one spot. Heat builds quickly and can burn the nail bed.
Use light pressure. Pressing down creates friction and removes too much product.
Use the right speed. High speed with a fine bit is safer than low speed with heavy pressure, but always start low.
Stop if you feel heat or pain. Heat is a warning sign. Stop, let the nail cool, and continue at a lower speed.
Do not file living skin. Keep the bit on the nail plate only.
Do not use a coarse bit on natural nails. Reserve coarse bits for acrylic or hard gel.
Aftercare
After removal, your nails may feel thin or sensitive. Keep them short while they recover. Apply cuticle oil daily. Use a nail strengthener if needed. Give your nails a break before applying a new set. Avoid harsh chemicals and prolonged water exposure.
Final Thoughts
Removing gel nails safely is about patience and control. Hand filing is gentle and beginner-friendly. An e-file is faster and precise but requires practice and a light touch. Whichever method you choose, stop at a thin layer and never file down to the bare nail. Never peel or scrape. With proper aftercare, your natural nails will stay healthy and ready for your next manicure.
Read also: The Guide to At-Home Pedicure: Essential Supplies and Step-by-Step Instructions